Added the missing Anaconda3 environment variable setup step for Windows. Walkthrough updated to the latest MetaRoom3D AI Align interface.

Learn to capture 360° images and use the AI Align Tool to prepare your panoramas for 3D modelling
Before you can start building a 3D dollhouse model, you need clean, well-positioned panorama images captured at each camera station inside the property. Tutorial 01 covers the image capturing workflow — how to position your 360° camera correctly in each room, maintain a consistent height across all shots, and name your files in a way the AI Align Tool can process efficiently.
Tutorial 02 covers the AI Align Tool itself. This Windows application takes your raw equirectangular panoramas and automatically detects where the floor boundary sits in each image. Getting this alignment right is critical — an incorrectly placed floor line will cause your Blender floor plane to sit at the wrong height, meaning all your wall extrusions will be off further down the workflow. The tool lets you preview each detection result before saving, and outputs alignment data that the MetaRoom3D Editor plugin reads when you import the panorama into Blender.
Windows users: Before running the AI Align Tool for the first time, make sure your Anaconda3 environment variable is correctly configured in your system settings. This is a common first-run issue — Tutorial 02 was updated to include this setup step.

Learn how to capture panoramic images of a property using a 360° camera, ready for processing with the AI Align Tool
Video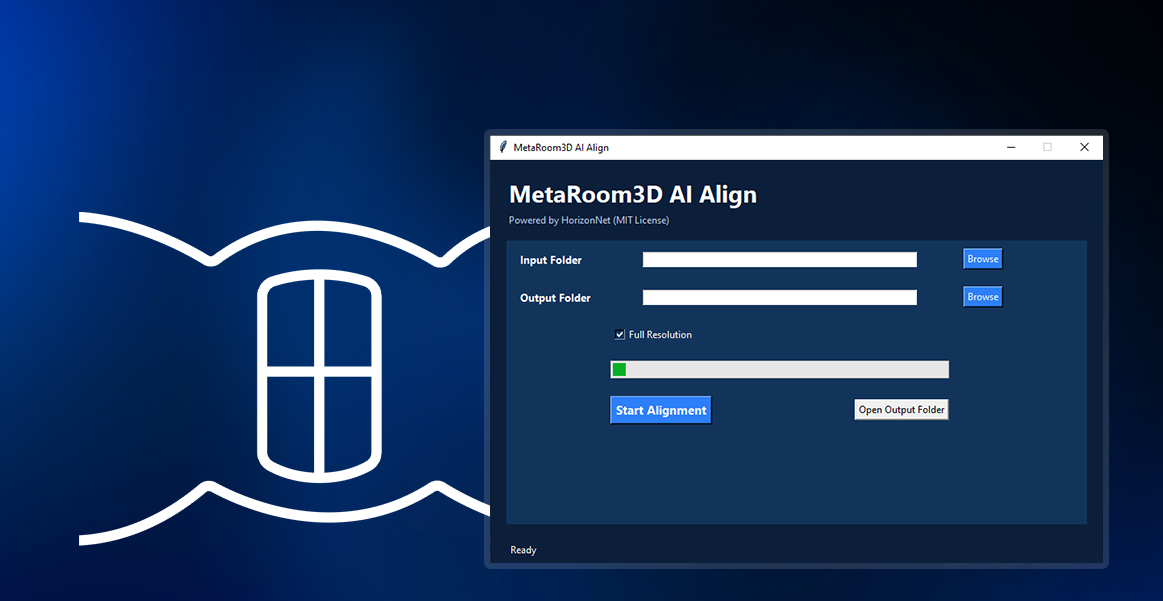
Use the AI Align Tool to automatically detect floor boundaries and align your panoramas for accurate 3D modelling
Video 🔄 Updated

Learn to create 3D dollhouse models from panorama images using Blender
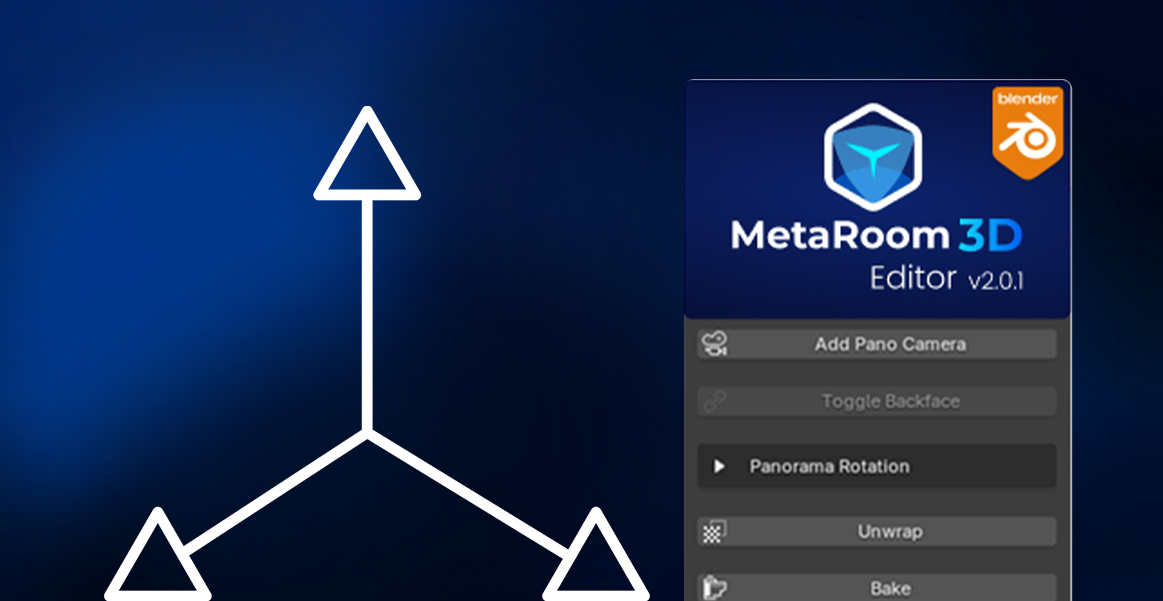
Tutorial 01 walks you through installing Blender 4.5.2 LTS and the MetaRoom3D Editor plugin. The plugin installs via Edit > Preferences > Add-ons > Install from Disk — point it at the downloaded .zip file and it appears as MetaRoom3D Editor v2.0.1 in the N panel on the right side of Blender's 3D viewport. Before importing any panorama, set your viewport shading to Rendered mode — this is the most common beginner mistake and will prevent you from seeing the panorama texture correctly if skipped.
Tutorial 02 covers the complete 3D dollhouse modeling workflow from a single panorama:
floor1.glb or floor2.glb, ready for the Hotspot Editor.You can verify your room at any point by selecting the correct Pano Cam in the Scene Collection and pressing Numpad 0 to enter 360° camera view. Double-tap R to enter orbit mode, then double-tap R again to exit. Press Numpad 0 again to return to the normal viewport.
Learn how to install Blender and set up the MetaRoom3D Editor plugin from start to finish
Video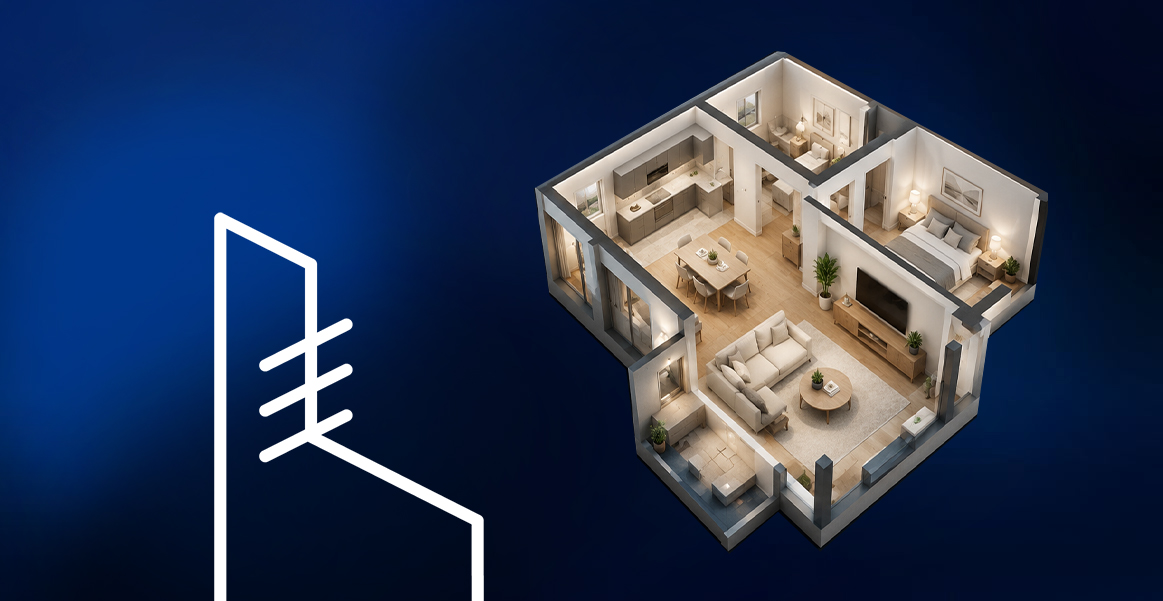
Create a 3D dollhouse from a single panorama
Video

Add interactive navigation hotspots to connect your 3D rooms together
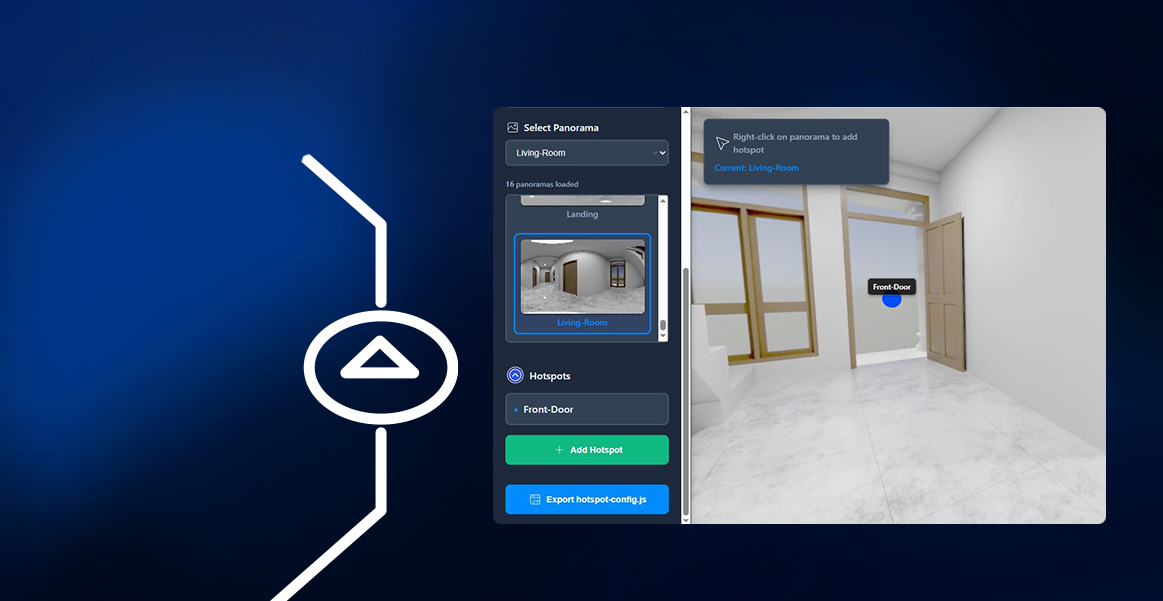
Once you have your exported .glb floor files from Track 2, the Hotspot Editor is what transforms them into a fully navigable virtual tour. The app has two main areas: a left sidebar containing all project controls, and a main viewport that displays a live equirectangular panorama you can look around in real time.
To start a new project, click Choose Files under the Select Folder section and load all your panorama images at once. They appear as thumbnail previews in the sidebar for quick switching. If you are continuing a previous session, use Import Configuration at the top of the sidebar to load a saved hotspot-config.js file — this restores all your previously created hotspot connections automatically without any re-work.
Adding a hotspot between two rooms is a two-step process. First, select the source panorama (e.g. Living Room) and right-click in the viewer at the spot where you want the navigation arrow to appear — typically in front of a doorway. A blue dot marks the placement and can be freely dragged to reposition. Then, in the Edit Hotspot panel, use the Linked Panorama dropdown to choose the destination room (e.g. Front Door). The viewer automatically switches to the destination panorama so you can immediately add the return hotspot pointing back — creating a two-way connection between rooms.
Useful keyboard shortcuts: Ctrl+N adds a new hotspot, Ctrl+S saves the current hotspot, Delete removes the selected hotspot, and Ctrl+E exports the configuration file. When your full tour is linked up, click Export hotspot-config.js at the bottom of the sidebar to generate the package ready for submission.
Learn how to use the MetaRoom3D Hotspot Editor to place navigation hotspots, add room labels, preview your tour, and export the final package
VideoHDRI · Lighting
How MetaRoom3D took a 30-year-old film VFX technique — the chrome ball — and rebuilt it for modern property visualization.
Having trouble installing a tool or following a step? Submit your issue and we'll help you get unstuck. Include your OS, the tutorial number, and a brief description.
Once you've completed your virtual tour, submit it to MetaRoom3D.com and reach thousands of potential buyers